How To Protect Your Window Tint for Maximum Longevity
A few everyday habits could degrade the quality of your car’s window tint. Use these tips to protect the film for maximum longevity.
Date
Sep 4, 2026
Category
Window Tint

Fresh window tint changes the way a vehicle looks from the outside and how comfortable the cabin feels on a sunny drive. But you might wonder if your daily habits are secretly degrading the window tint’s quality. Following these good habits will protect your window tint for maximum longevity.
Allow Fresh Window Tint To Cure Completely
Fresh window tint needs time to settle in. After installation, the adhesive continues bonding to the glass as trapped moisture gradually evaporates. Drivers may notice a light haze or small pockets of moisture during this stage. Those changes can be part of the curing process rather than an immediate problem. However, rolling down a window or wiping the film will disturb the bond.
Curing time varies with the film and surrounding conditions. It could take nearly 30 days for the film to adhere fully. The window tint installer will have all the information you need to ensure that you don’t compromise the film. In the meantime, avoid rolling down the windows or cleaning the surface. A little patience now protects the smooth appearance you want.
Use Film-Safe Glass Cleaners
Tinted glass doesn’t require an elaborate stockpile of cleaning supplies. However, the film surface deserves a cleaner aligned with the manufacturer’s care guidance. Products with gritty particles or highly concentrated chemicals could break down the film. Repeatedly cleaning the windows with rough methods will render the tinting ineffective. Here are the best practices to follow for clean, protected windows:
Clean the surface with a mild soap mixture.
Use diluted white vinegar to remove mineral buildup.
Apply isopropyl alcohol to spot clean imperfections.
Clean the Surface With Soft Materials
A dirty side window invites a quick wipe with whatever happens to be nearby. A rough shop rag seems harmless, yet coarse fibers may drag grit across the film. Repeated contact risks leaving light scratches that become easier to notice under direct sunlight.
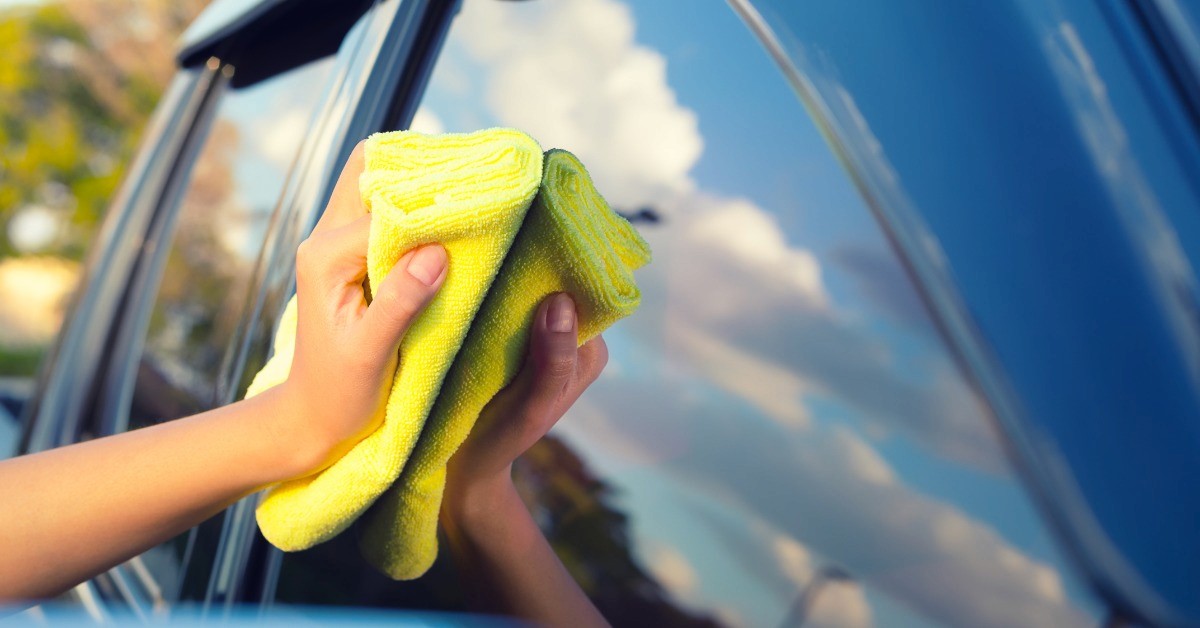
Use a clean microfiber towel or soft sponge to clean the windows. Rather than scrubbing the same spot aggressively, wipe using light pressure. If a mark won’t lift after a gentle pass, add a film-safe cleaner; give the product time to work and loosen up the material. Then, the mark should lift easily with a microfiber cloth or soft sponge.
Remove Grit Before Wiping Clean
Colorado drivers know how quickly dust settles onto the vehicle, especially after a drive through the mountains or with the windows cracked down. Fine particles collect on the door panels and glass. If you use a dry towel to wipe the particles away, you’re spreading them across the tint. Each grain creates friction against the film and dulls the finish. Over time, these swirl marks will make it difficult to see clearly.
Look out for dust and loose debris. Then, use a soft, clean cloth to lift those particles with light pressure. After you’ve removed the grit, continue with your regular glass-care routine using a fresh cloth or sponge. This simple step reduces friction, preserves the tint’s clarity, and helps prevent small scratches from accumulating.
Treat Defroster Lines With Care
Narrow defrost lines run from one side to the other along the rear window. Since the lines are beneath the film, rough cleaning or scraping puts both the tint and the defroster grid at risk. A hard tool might remove stubborn residue quickly, but it could also scratch the film or damage a line that helps clear frost and condensation. Remember the window cleaning tips mentioned above. Taking a gentle approach preserves the film and defrost system.
Protect the Tint From Sharp Objects
Window film covers the interior side of the glass, which makes it vulnerable to everyday activity inside the vehicle. A seat belt latch might swing into the window when someone exits, while a metal-edged cargo bin or a piece of sports equipment could press against the tint when loading.
It’s best to keep sharp and rigid objects away from tinted surfaces when possible. Whether you’re placing luggage or bulky gear into the cabin, steer clear of the windows. Then, secure the cargo so it doesn’t shift while you drive. These simple precautions preserve the film’s smooth finish and help prevent damage that cleaning products won’t fix.
Be Gentle Around Film Edges
The edges of window tint need extra attention because repeated friction gradually weakens the film’s bond with the glass. A fingernail, ring, or seat belt buckle might catch the upper edge when someone reaches across the door, while rough wiping creates similar stress during routine cleaning. Over time, those small contacts encourage the film to lift or curl.
If you notice a corner starting to separate, resist the urge to press it down, trim it, or pick at it. Those quick fixes often spread the damage beyond the original spot. Instead, clean around the area with a soft cloth and light pressure. Then, bring in your vehicle so a window tint professional can treat the area. The key is prompt attention to protect the film from needing an in-depth repair.
Scrape Winter Ice Carefully
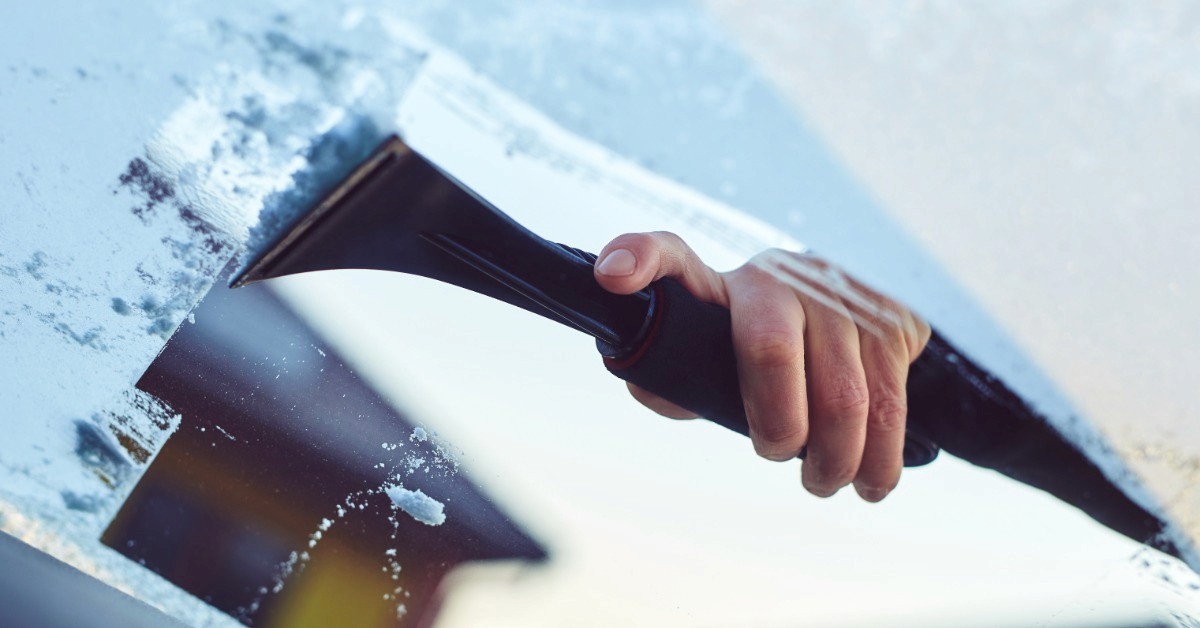
On an icy morning, the scraper is essential. But there’s a chance you could damage the film if you aren’t careful. First, you’ll need a scraper with a smooth edge. Run the defroster first to start loosening the ice from the glass before applying pressure. Then, brush away loose snow.
Once ice remains as the only layer, hold the scraper at roughly a 45-degree angle against the exterior glass. Avoid laying it flat or holding it upright because either position makes controlled scraping difficult. Use short, firm strokes to lift the softened ice without pressing aggressively against the window. If a stubborn patch won’t release, run the defroster a little longer instead of increasing pressure. This method clears thick pieces of ice without harming the window tint.
Protect the Finish With Quality Installation
Good maintenance works best when the film begins with careful installation. Clean glass and precise film placement support a smooth finish through normal vehicle use. Skilled installers explain curing guidance and care expectations based on the material they apply.
For professional auto window tinting, schedule an appointment with Mile High Customs in Denver. Our team uses LLumar FormulaOne film, and we back our workmanship with a lifetime guarantee. To protect your window tint for maximum longevity, it’s best to start with an installation worth maintaining.
Contact Mile High Customs today to learn about which tint options suit your vehicle and driving routine. We’ll provide a quote and schedule your vehicle for a premium window tinting service that will exceed your expectations.
Fresh window tint changes the way a vehicle looks from the outside and how comfortable the cabin feels on a sunny drive. But you might wonder if your daily habits are secretly degrading the window tint’s quality. Following these good habits will protect your window tint for maximum longevity.
Allow Fresh Window Tint To Cure Completely
Fresh window tint needs time to settle in. After installation, the adhesive continues bonding to the glass as trapped moisture gradually evaporates. Drivers may notice a light haze or small pockets of moisture during this stage. Those changes can be part of the curing process rather than an immediate problem. However, rolling down a window or wiping the film will disturb the bond.
Curing time varies with the film and surrounding conditions. It could take nearly 30 days for the film to adhere fully. The window tint installer will have all the information you need to ensure that you don’t compromise the film. In the meantime, avoid rolling down the windows or cleaning the surface. A little patience now protects the smooth appearance you want.
Use Film-Safe Glass Cleaners
Tinted glass doesn’t require an elaborate stockpile of cleaning supplies. However, the film surface deserves a cleaner aligned with the manufacturer’s care guidance. Products with gritty particles or highly concentrated chemicals could break down the film. Repeatedly cleaning the windows with rough methods will render the tinting ineffective. Here are the best practices to follow for clean, protected windows:
Clean the surface with a mild soap mixture.
Use diluted white vinegar to remove mineral buildup.
Apply isopropyl alcohol to spot clean imperfections.
Clean the Surface With Soft Materials
A dirty side window invites a quick wipe with whatever happens to be nearby. A rough shop rag seems harmless, yet coarse fibers may drag grit across the film. Repeated contact risks leaving light scratches that become easier to notice under direct sunlight.
Use a clean microfiber towel or soft sponge to clean the windows. Rather than scrubbing the same spot aggressively, wipe using light pressure. If a mark won’t lift after a gentle pass, add a film-safe cleaner; give the product time to work and loosen up the material. Then, the mark should lift easily with a microfiber cloth or soft sponge.
Remove Grit Before Wiping Clean
Colorado drivers know how quickly dust settles onto the vehicle, especially after a drive through the mountains or with the windows cracked down. Fine particles collect on the door panels and glass. If you use a dry towel to wipe the particles away, you’re spreading them across the tint. Each grain creates friction against the film and dulls the finish. Over time, these swirl marks will make it difficult to see clearly.
Look out for dust and loose debris. Then, use a soft, clean cloth to lift those particles with light pressure. After you’ve removed the grit, continue with your regular glass-care routine using a fresh cloth or sponge. This simple step reduces friction, preserves the tint’s clarity, and helps prevent small scratches from accumulating.
Treat Defroster Lines With Care
Narrow defrost lines run from one side to the other along the rear window. Since the lines are beneath the film, rough cleaning or scraping puts both the tint and the defroster grid at risk. A hard tool might remove stubborn residue quickly, but it could also scratch the film or damage a line that helps clear frost and condensation. Remember the window cleaning tips mentioned above. Taking a gentle approach preserves the film and defrost system.
Protect the Tint From Sharp Objects
Window film covers the interior side of the glass, which makes it vulnerable to everyday activity inside the vehicle. A seat belt latch might swing into the window when someone exits, while a metal-edged cargo bin or a piece of sports equipment could press against the tint when loading.
It’s best to keep sharp and rigid objects away from tinted surfaces when possible. Whether you’re placing luggage or bulky gear into the cabin, steer clear of the windows. Then, secure the cargo so it doesn’t shift while you drive. These simple precautions preserve the film’s smooth finish and help prevent damage that cleaning products won’t fix.
Be Gentle Around Film Edges
The edges of window tint need extra attention because repeated friction gradually weakens the film’s bond with the glass. A fingernail, ring, or seat belt buckle might catch the upper edge when someone reaches across the door, while rough wiping creates similar stress during routine cleaning. Over time, those small contacts encourage the film to lift or curl.
If you notice a corner starting to separate, resist the urge to press it down, trim it, or pick at it. Those quick fixes often spread the damage beyond the original spot. Instead, clean around the area with a soft cloth and light pressure. Then, bring in your vehicle so a window tint professional can treat the area. The key is prompt attention to protect the film from needing an in-depth repair.
Scrape Winter Ice Carefully
On an icy morning, the scraper is essential. But there’s a chance you could damage the film if you aren’t careful. First, you’ll need a scraper with a smooth edge. Run the defroster first to start loosening the ice from the glass before applying pressure. Then, brush away loose snow.
Once ice remains as the only layer, hold the scraper at roughly a 45-degree angle against the exterior glass. Avoid laying it flat or holding it upright because either position makes controlled scraping difficult. Use short, firm strokes to lift the softened ice without pressing aggressively against the window. If a stubborn patch won’t release, run the defroster a little longer instead of increasing pressure. This method clears thick pieces of ice without harming the window tint.
Protect the Finish With Quality Installation
Good maintenance works best when the film begins with careful installation. Clean glass and precise film placement support a smooth finish through normal vehicle use. Skilled installers explain curing guidance and care expectations based on the material they apply.
For professional auto window tinting, schedule an appointment with Mile High Customs in Denver. Our team uses LLumar FormulaOne film, and we back our workmanship with a lifetime guarantee. To protect your window tint for maximum longevity, it’s best to start with an installation worth maintaining.
Contact Mile High Customs today to learn about which tint options suit your vehicle and driving routine. We’ll provide a quote and schedule your vehicle for a premium window tinting service that will exceed your expectations.

